
Transferring Raw DNA Data Between Databases: A Practical Walkthrough
Many DNA databases accept uploads from other providers. Learn how data transfers work, what carries over, and what to check before uploading.
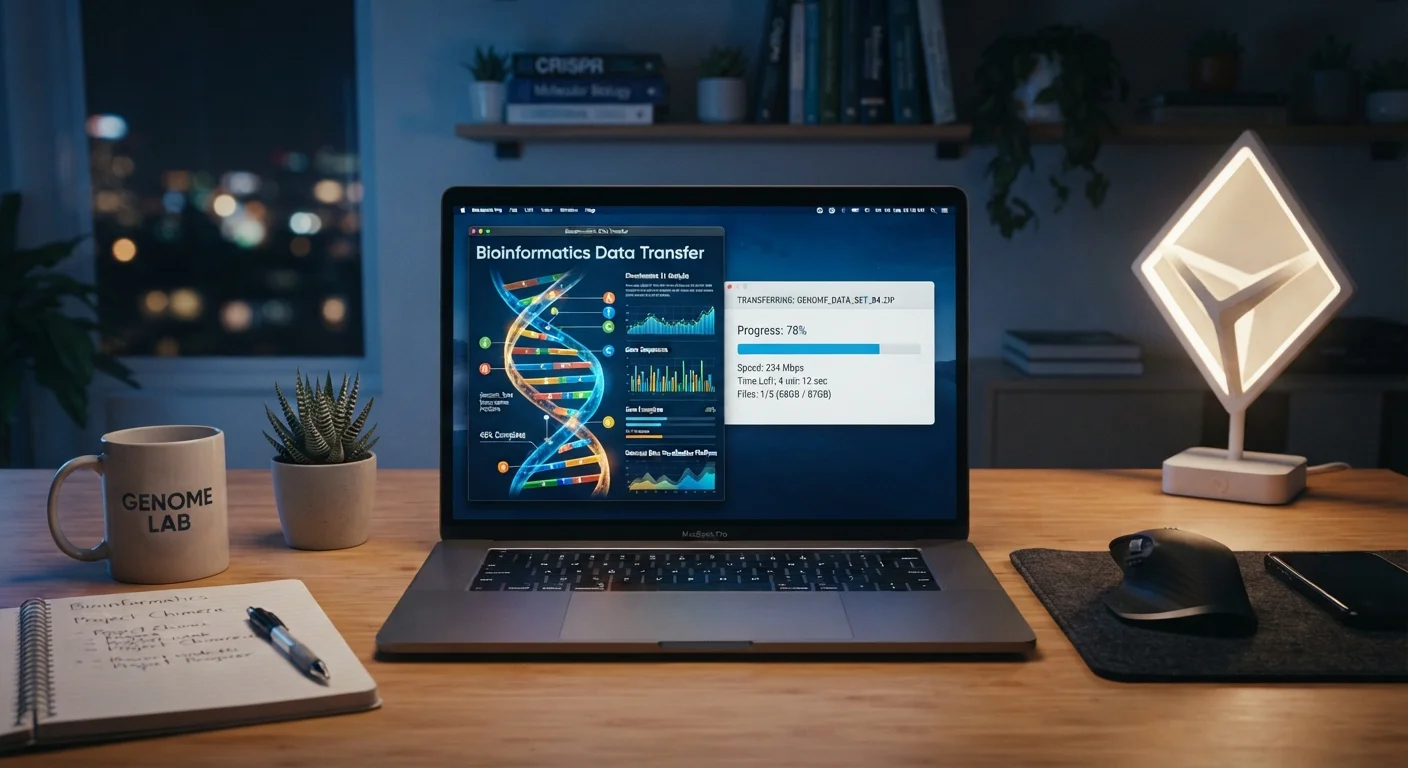
Photo: searchopenrecords editorial
—— In This Article
Key Takeaways
- Most major genealogy DNA databases accept raw data uploads from other providers at no cost.
- Uploading raw DNA expands your match pool without the need for a new saliva sample.
- Only autosomal DNA files transfer reliably; Y-DNA and mtDNA results do not port between platforms.
- Ethnicity estimates will differ across databases because each uses its own reference panel.
- Review each platform's privacy and consent settings before and after uploading your file.
Why Transfer Raw DNA Data at All?
When you test with one DNA provider, your matches are limited to that company's customer pool. Uploading your raw data file to additional databases instantly exposes your results to a different — sometimes much larger — group of people who have tested elsewhere. This matters especially when searching for relatives who tested with a different provider, or when trying to confirm a connection that shows up in one database but not another.
Raw DNA data is simply the uninterpreted output of the genotyping chip — a text file (usually in .zip or .txt format) containing hundreds of thousands of genetic markers. The interpretive layer — ethnicity estimates, match algorithms, chromosome browsers — varies by platform. Transferring gives you more matches; it does not replicate the originating platform's proprietary analysis tools. For a fuller picture of how DNA evidence complements traditional records, see how DNA testing fits into traditional genealogy research.
What You Need Before You Begin
Before initiating a transfer, confirm you have the following ready:
What you will need
One important constraint: only autosomal DNA (the standard ancestry test) transfers between platforms. Specialty tests — Y-DNA (paternal line) and mitochondrial DNA (maternal line) — use different marker sets and are not interchangeable across databases. If your genealogy strategy relies on those test types, a separate test at the destination platform is required.
Step-by-Step Transfer Process
The steps below reflect the general workflow shared by most platforms that accept uploads. Always consult the destination site's current help documentation, as interfaces change periodically.
Log in to your originating DNA account
Sign in to the account where your original DNA test is stored. Navigate to your personal DNA results page — typically labeled something like DNA Settings, Raw Data, or found within your account profile.
Download your raw DNA data file
Locate the option to download your raw data. The platform will typically ask you to confirm your identity (via password or email verification) before initiating the download. The resulting file is usually a compressed .zip archive containing a .txt file.
Save the file to a location on your device that you can easily find — a dedicated folder labeled with the provider name and date is helpful for organization.
Create or log in to your destination database account
Open the website of the database you want to upload to. Most platforms that accept raw DNA uploads require a free account. If you do not already have one, complete the registration process before proceeding.
Navigate to the raw data upload section
Look for an option labeled Upload DNA, Transfer DNA, or similar — often found under account settings, a dedicated DNA section, or the main navigation. Some platforms display a prominent upload prompt on the dashboard for new accounts.
Review consent and privacy settings before uploading
Before confirming the upload, read any consent agreements presented. These typically cover how your data will be stored, whether it will be included in research, and what matching visibility options are available. Adjust these settings to reflect your preferences — you can usually revisit them later in your account settings.
Upload your raw data file and wait for processing
Select your saved raw data file using the platform's upload interface and confirm the submission. Processing time varies by platform and server load — it can range from a few minutes to several hours. You will typically receive an email notification when your results are ready to view.
File Compatibility Is Not Universal
Not every destination database accepts files from every originating provider. Genotyping chips differ across companies, and some marker sets are incompatible with a given platform's algorithms. Before downloading your raw data, check the destination site's list of accepted sources. Uploading an incompatible file typically results in an error message, but it is better to confirm compatibility beforehand to avoid confusion.
After completing a transfer, cross-reference any new matches with digitised historical records. Census images, vital records, and ship manifests can help confirm or contextualize a DNA-suggested relationship. Using digitised records alongside DNA evidence explains how to do this effectively.
What Changes — and What Doesn't — After an Upload
Expect your ethnicity estimate to look different on the new platform. This is normal and expected: each database maintains its own reference panel of populations, and the algorithms used to assign percentages differ. Neither estimate is definitively correct; think of them as informed approximations that shift as reference panels grow and improve.
What does transfer accurately is your underlying marker data, which means your DNA matches on the new platform will reflect genuine shared segments with other users in that database. Chromosome browser tools — where available — will show real shared segment data.
Keep in mind that uploading your file to a new database means your DNA information is now held by an additional organization. Before you proceed, read the platform's privacy policy and adjust consent settings to match your comfort level. For a thorough discussion of the trade-offs involved, see privacy trade-offs when you submit a DNA sample. Those considerations are part of a broader conversation about the case for and against DNA testing as a genealogy tool.
DNA transfer is one component of a larger research workflow. For a comprehensive look at integrating DNA results with digitised archives and online tools, see the end-to-end guide to modern family history research.

Genealogy Search Editorial Team
Genealogy Search Editorial Team is the collective byline for our editorial team and contributor network. Articles published under this byline or an editorial pen name are researched, written, and reviewed according to our editorial standards for clarity, consistency, and independence before publication.
View author profile