
Building a Chromosome Map: How Segment Data Strengthens Family History Evidence
Chromosome mapping assigns DNA segments to specific ancestors. Learn why genealogists use it and how to start one with existing test data.
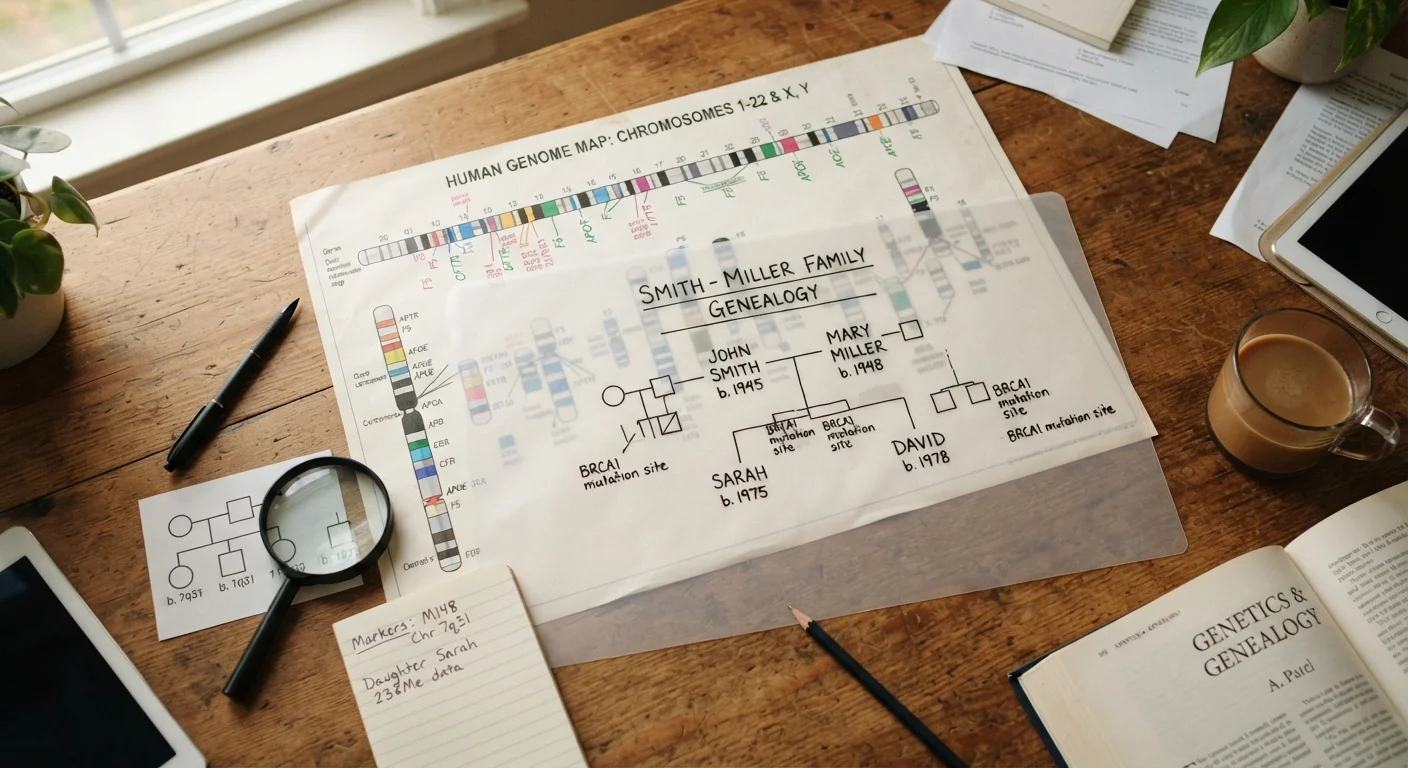
Photo: searchopenrecords editorial
—— In This Article
Key Takeaways
- Chromosome mapping assigns specific DNA segments to known ancestors, strengthening genealogical evidence.
- You need at least one autosomal DNA test result and access to segment data to begin mapping.
- Triangulation — comparing shared segments across multiple matches — is the core technique for confirming assignments.
- Mapping works best when combined with traditional documentary records rather than as a standalone proof.
- Free visualization tools such as DNA Painter can help you organize and display your chromosome map.
What Chromosome Mapping Actually Means
A chromosome map is a visual record showing which portions of your 22 pairs of autosomal chromosomes came from which ancestor. Every human inherits roughly half their autosomal DNA from each parent, but the precise segments — and which grandparent or great-grandparent originally carried them — vary randomly with each generation through a process called recombination.
By identifying which DNA segments you share with known relatives, you can label those segments on your chromosomes and, over time, build a picture of where each piece of your genome originated. This adds a biological layer of evidence that sits alongside census records, vital records, and oral history. For a broader view of how DNA results complement traditional sources, see how DNA testing fits into traditional genealogy research.
Chromosome mapping is particularly valuable when documentary records are incomplete or contradictory — a situation explored further in our guide on the DNA toolkit for brick-wall ancestors.
Start With Your Closest Relatives
If a parent, sibling, aunt, or uncle has also tested, compare your segments with theirs first. Close relatives provide the clearest, most reliable anchors for your map and make subsequent triangulation far more efficient. Even a single tested parent allows you to phase your results — definitively sorting each segment as paternal or maternal — before adding more distant matches.
What You Need Before You Start
Chromosome mapping requires a few essentials before any meaningful work can begin.
What you will need
Not every testing platform exposes segment-level data by default. Platforms that provide a chromosome browser or allow raw data downloads give you the granular information needed. If your current platform does not offer this, uploading your raw DNA file to a platform that does — where permitted by that platform's terms — can expand your access to segment comparisons.
Step-by-Step: Building Your First Chromosome Map
Follow these steps in order. Progress will be slow at first, but each confirmed segment assignment makes subsequent assignments easier.
Download your segment data
Log in to the platform where your DNA test results are held and navigate to the chromosome browser or match comparison tool. Export or manually record the segment data for your closest confirmed matches — start with first and second cousins, where the genealogical relationship is easiest to verify. For each match, note the chromosome number, segment start and end positions (in base pairs), and the length in centimorgans.
Confirm the documentary relationship for each match
Before assigning any segment to an ancestor, verify the paper trail connecting you to that DNA match. Pull the birth, marriage, and census records that establish the shared lineage. A segment assignment is only as strong as the genealogical evidence behind it — mapping a segment to an unverified relationship introduces errors that propagate through later work. See traditional family history research methods for guidance on locating and evaluating public records.
Enter segment data into a mapping tool
Open your chromosome mapping tool or spreadsheet. Create an entry for each confirmed match segment, recording the chromosome, start and end positions, cM length, the match's name or identifier, and the specific ancestor through whom you share DNA. Color-coding by family line (paternal vs. maternal, then by grandparent line) helps visual patterns emerge quickly.
Triangulate segments across multiple matches
Triangulation means finding three or more people who all share overlapping DNA on the same chromosomal region and who all descend from the same ancestral couple. When two of your matches also share that segment with each other (not just with you), and all three of you connect through the same ancestral line, you have triangulated that segment to that ancestor pair. This is the standard used by the genetic genealogy community to support a segment assignment.
Label and expand your map incrementally
Once a segment is triangulated and the genealogy is verified, formally label it in your mapping tool with the ancestor pair it traces to. Then review your remaining unassigned matches to see whether any of them overlap the same segment — if so, they may also descend from that same ancestral couple, giving you a new research lead. Repeat the process, working outward from well-confirmed segments to less certain ones, and document every assignment with the evidence that supports it.
Interpreting Your Map and Avoiding Common Errors
A chromosome map is only as reliable as the genealogical conclusions supporting each assignment. Two common pitfalls can undermine your work:
- Identical-by-population (IBP) segments — short segments (generally under 7 centimorgans) that appear shared not because of a recent common ancestor but because they are common in a particular population. Treat segments under 7 cM with caution and do not map them without strong corroborating evidence.
- Unverified paper trails — assigning a segment to an ancestor before confirming the documentary relationship between you and your match creates circular reasoning. Always verify the genealogy first.
When your map reveals a segment you cannot assign to any known ancestor, that unassigned region may point to a line worth investigating further. This intersects with broader questions about what DNA can and cannot tell you — a topic examined in the case for and against DNA testing as a genealogy tool.
Chromosome mapping sits within a larger research workflow. For a comprehensive picture of how DNA and digital records work together, see DNA and digital records together. If you are still building foundational knowledge, genetic genealogy from the ground up provides the conceptual grounding you will need.

Genealogy Search Editorial Team
Genealogy Search Editorial Team is the collective byline for our editorial team and contributor network. Articles published under this byline or an editorial pen name are researched, written, and reviewed according to our editorial standards for clarity, consistency, and independence before publication.
View author profile